AeroPress Brew Guide: Ratios, Inverted Method, Tips
By Coffee Studies Editorial·Published July 15, 2026·6 min read
Quick answer
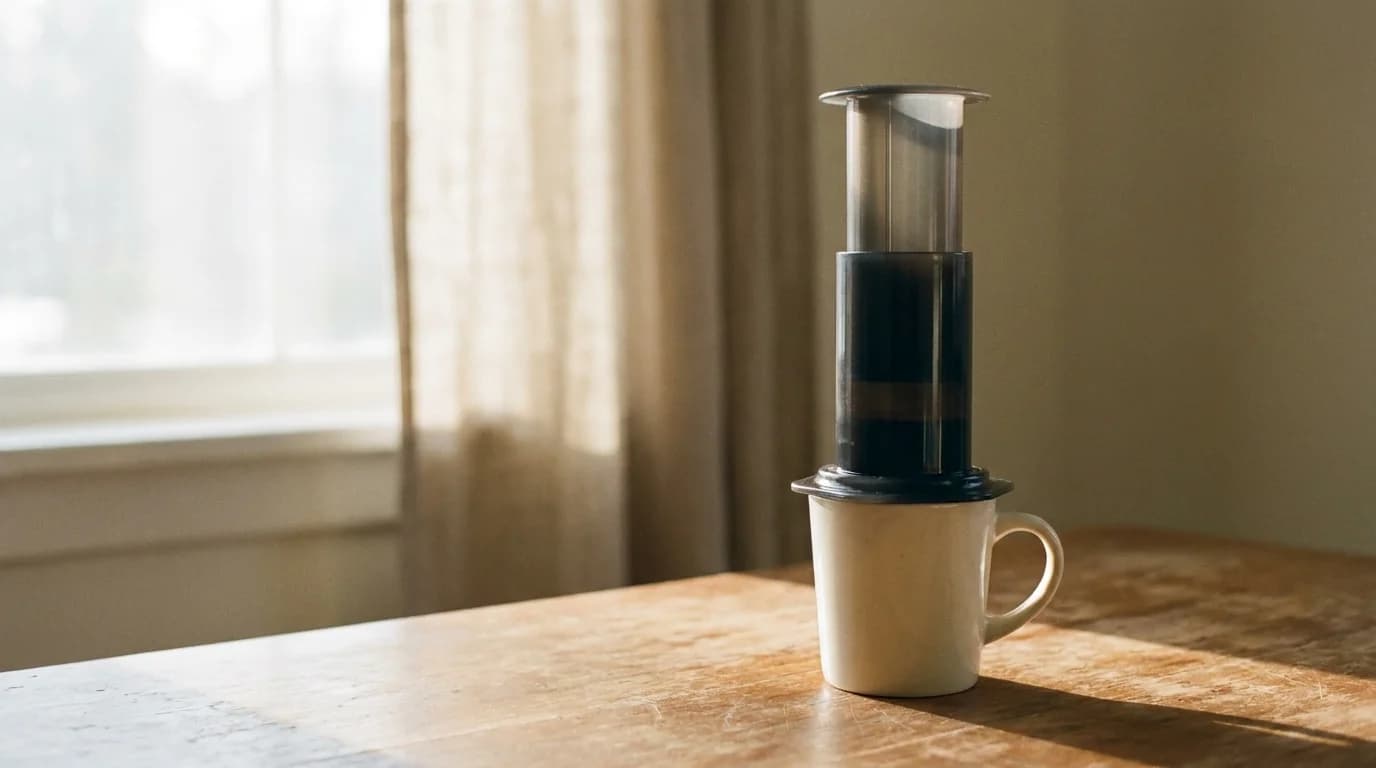
AeroPress is one of the most versatile coffee brewers ever made — a $40 plastic cylinder that can produce cups ranging from clean and tea-like to strong and concentrated, depending entirely on how you use it. The invention has spawned an entire recipe subculture (the World AeroPress Championship exists) and remains one of the best coffee tools per dollar you can buy.
One cup at a time
AeroPress makes a single serving per brew — 200-250 mL for standard recipes[2]
1-2 minutes
typical AeroPress contact time — much shorter than French press, longer than espresso[1]
Paper or metal
AeroPress accepts both paper filters (cleaner cup) and metal disc filters (fuller body) — recipe choice[3]
What AeroPress is
AeroPress is a manual immersion coffee brewer invented in 2005 by Alan Adler (of Aerobie flying disc fame). Two nested plastic cylinders form a chamber for coffee and water; a filter cap at the bottom holds a paper or metal disc filter. You steep the coffee, then push the plunger to force the liquid through the filter into your cup.
The design does three things at once:
- Immersion brewing — all the coffee is in contact with all the water at once (like French press, unlike drip)
- Paper or metal filtration — cleaner cup than French press when using paper
- Manual pressure — you push the plunger, generating a small amount of pressure (nowhere near espresso, but more than atmospheric drip)
The combination makes AeroPress remarkably flexible. The same device can approximate a drip cup, a strong immersion cup, or — via specific recipes — something concentrated enough to dilute into an "AeroPresso" that looks and tastes espresso-adjacent.
What you need
- An AeroPress — the original AeroPress or AeroPress Go (smaller travel version). ~$40.
- AeroPress filters — paper micro-filters (comes with 350 in the box). Or a metal disc filter (aftermarket, ~$15) for fuller body.
- A scale — for consistent ratios.
- A burr grinder — medium-fine grind. AeroPress is more forgiving on grind uniformity than pour-over but a burr grinder still helps.
- A kettle — no gooseneck required, but temperature control is useful.
- A mug — the brewer sits on top of.
The standard method
The classic AeroPress recipe (from the original Alan Adler instructions):
- Boil water; let cool briefly to ~85 °C (this is unusually cool for coffee brewing but works well for AeroPress).
- Grind 17 g of coffee medium-fine (finer than drip, coarser than espresso — like table salt).
- Set up. Insert a paper filter into the filter cap. Rinse it briefly with hot water. Screw the cap onto the brew chamber.
- Place the brewer on top of your mug, on the scale.
- Add the ground coffee to the chamber.
- Zero the scale, start your timer, pour ~50 g of water to fully wet the grounds. Stir gently 2-3 times.
- Add remaining water to reach 220 g total (1:13 ratio).
- Insert the plunger loosely on top (creates a vacuum seal) and let steep for another 60 seconds.
- At 1:30 total, press slowly and steadily. Should take 20-30 seconds to fully press. Stop when you hear a hissing sound (air escaping past the plunger seal).
- Remove. Serve as-is (a stronger "AeroPresso" style) or dilute with hot water to your preferred drip-like strength.
The inverted method
Many enthusiasts prefer inverted because it gives complete control over contact time — no coffee drips through the filter until you flip and press.
- Assemble with the plunger inserted about halfway into the larger chamber, filter cap OFF (you'll add it later).
- Flip the whole assembly upside down — plunger side down, open chamber up.
- Add ground coffee to the chamber (17 g).
- Pour water to 220 g. Steep for 90 seconds, stirring at 30 seconds and 60 seconds.
- Wet a paper filter and screw the filter cap on.
- Flip the whole thing over onto your mug in a smooth motion (a small dribble of coffee is normal).
- Press slowly for 20-30 seconds.
The inverted method is technically slightly more complex but produces more consistent results because no coffee drips through during steeping.
Recipe variables
AeroPress accepts a wide range of variables, which is why so many different recipes exist:
Water temperature:
- Standard: 85-90 °C (lower than pour-over)
- For very light roasts: closer to 95 °C
- For darker roasts: 80-85 °C
Grind:
- Fine (espresso-ish): shorter contact time, stronger cup
- Medium: standard recipes
- Coarser (French press-ish): longer contact time, cleaner cup
Contact time:
- 45 seconds: very short — needs finer grind and hotter water
- 1-2 minutes: standard
- 3-5 minutes: long, more like French press
Ratio:
- 1:10 to 1:13: strong, concentrated — often diluted after brewing
- 1:14 to 1:17: standard drinking strength
- 1:18+: mild, tea-like
Filter:
- Paper: cleaner cup, more clarity, no oils
- Metal disc: fuller body, more oils, some sediment
Method:
- Standard: works well for shorter contact times
- Inverted: better for longer contact times and full control
The AeroPresso approach
Because AeroPress can generate concentration close to espresso (though nowhere near the pressure), a common recipe is:
- Fine grind (near espresso texture)
- ~14 g coffee, ~50 g water at 90 °C
- 30 seconds contact time
- Firm press
This produces a concentrated ~40 g shot that looks and tastes espresso-adjacent — dark, intense, with a hint of pseudo-crema from the plunger pressure. Not real espresso (no ~9 bar pressure), but close enough that many home coffee lovers use AeroPresso as their espresso substitute.
Where AeroPress fits vs other methods
A 2013 European Food Research and Technology study comparing nine coffee extraction methods provides context — different methods extract different compound profiles, and AeroPress sits in a middle zone between immersion (French press) and drip (pour-over)[1].
Practically:
| AeroPress | French press | Pour-over | Espresso | |
|---|---|---|---|---|
| Batch size | 1 cup | 2-4 cups | 1-2 cups | 1 shot |
| Filter | Paper or metal | Metal mesh | Paper | Metal |
| Body | Medium (paper) or full (metal) | Full | Light | Very full |
| Time | 1-2 min | 4 min | 3-4 min | 25-35 sec |
| Skill required | Low-medium | Low | Medium-high | High |
| Portability | Excellent | Poor | Poor | None |
Where AeroPress shines
- Travel and camping. Nearly indestructible, small, no electricity, produces good coffee in minutes.
- Single-serving households. No waste, easy cleanup.
- Experimentation. Cheapest way to explore a huge range of recipes and coffee styles.
- Espresso substitute at home. Not real espresso, but the closest thing many home setups can produce affordably.
- Coffee lovers with limited budget. $40 device + burr grinder + scale = excellent coffee for well under $200 total.
Common misconceptions
- "AeroPress makes real espresso." No — it lacks the ~9 bar pressure. AeroPresso is a concentrated coffee that resembles espresso, not the same thing.
- "The plastic isn't safe." AeroPress uses BPA-free plastic rated for high temperatures. This has been a marketing target for competitors but there's no health concern for standard use.
- "AeroPress is only for a specific type of coffee." It's extremely flexible. Almost any coffee bean works, and recipe variation lets you shape the final cup considerably.
- "You need the perfect recipe." No — the World AeroPress Championship-winning recipes are impressive but the standard recipe is very good. Start there, adjust to taste.
The honest summary
AeroPress is coffee's most flexible tool per dollar spent. The standard recipe (17 g coffee, 220 g water at 85°C, 1:30 total time, medium-fine grind) produces excellent coffee for most beans. Once you have that dialled in, experiment — different ratios, temperatures, contact times, and grind sizes will meaningfully change your cup. If you can only afford one brewing device, AeroPress + a decent grinder gets you further than any drip machine at three times the price.
Frequently asked questions
- What ratio should I use for AeroPress?
- Ratios vary widely with recipes — from 1:12 for a strong, concentrated cup to 1:17 for a milder drip-style cup. A safe starting point is 17 g of coffee to 220 g of water (1:13) for a strong single serving, or 15 g to 240 g (1:16) for something closer to drip.
- What's the difference between standard and inverted method?
- Standard method sits the AeroPress on the mug with the plunger at top, so water starts dripping through the filter as soon as you pour. Inverted method starts with the AeroPress upside-down (plunger at bottom), letting coffee steep fully before you flip it and press. Inverted gives you complete control over contact time.
- What grind size for AeroPress?
- Medium-fine — between drip and espresso. Roughly the texture of table salt. Finer for shorter contact times; coarser for longer. AeroPress tolerates a range because the paper filter and short contact time forgive small variations.
- Is AeroPress espresso?
- No — AeroPress produces low-pressure brewed coffee that can be strong and concentrated but lacks the ~9 bar pressure required for true espresso and its characteristic crema. It's excellent coffee in its own category, not espresso.
References
Every factual claim in this article is drawn from the sources below. See the source library for how we grade evidence.
- [1]Comparison of nine common coffee extraction methods: instrumental and sensory analysisEuropean Food Research and Technology · 2013 · Controlled trial · Tier 2 · Moderate
- [2]Brewing FundamentalsCoffee Science Foundation · Reference work · Tier 2 · Moderate
- [3]Coffee extraction kinetics in a well mixed systemJournal of Mathematics in Industry · 2016 · Review · Tier 2 · Moderate
Related reading
- Brew MethodsPour-Over Coffee Guide: Ratios, Bloom, and Technique→
- Brew MethodsFrench Press Guide: Ratios, Steep Time, and Technique→
- Brewing ScienceCoffee Extraction Explained: TDS, Solubles, and Yield→
- Brew MethodsNitro Cold Brew: How Nitrogen Makes Coffee Creamy→
- Brew MethodsChemex vs V60: Which Pour-Over Makes Better Coffee?→
- Brew MethodsGreek Coffee: The Briki, the Frappe, and the Freddo→